For first time use and occasionally throughout the year, have another teacher or student(s) confirm that your voice is clearly heard throughout the classroom.
1. If the TeachLogic amplifier/receiver is available, adjust the “CH A” knob to the 12 o’clock position.
2. Attach the lanyard to the Sapphire’s metal clip.
3. Put the lanyard around your neck and adjust the strap until the top of the Sapphire sits on your collarbone (about 5 in [13 cm] from your mouth).
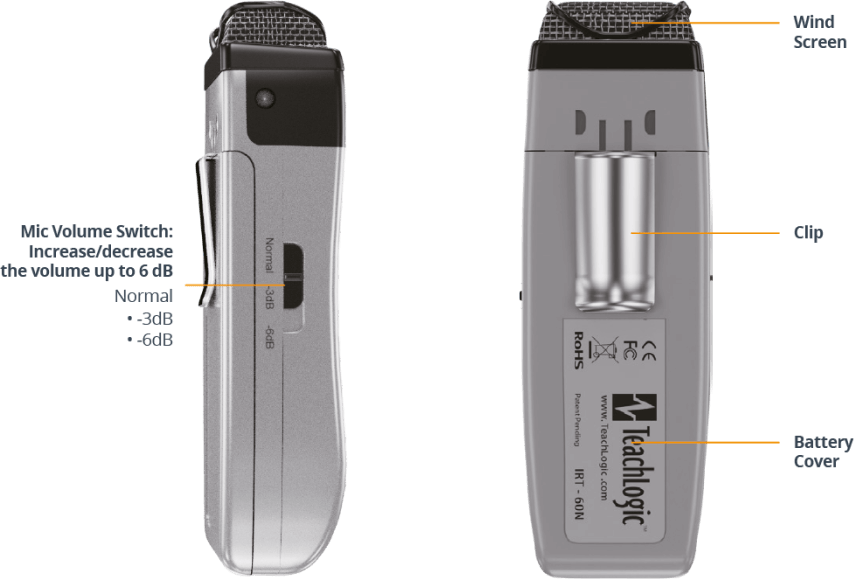
4. Locate the Volume Switch on the side of the microphone: • In a Noisy Room: Set at “Normal” • In a Quiet Room: Set at -6 dB
5. Turn the microphone ON (press/hold the power button).
6. Walk beneath a speaker. Talk in a normal, conversational tone. You should be able to hear yourself without hearing a ringing sound (feedback).
7. If you hear feedback, lower the CH A volume until it goes away.
DAILY USE
1. The amplifier will come out of STANDBY mode automatically when: • you turn ON the microphone • you play an audio source connected to the TeachLogic receiver
2. Use microphone’s Volume Switch is to make slight (3 or 6 dB) adjustments to the volume of your voice as room noise changes.
3. Use the “Priority” button to make daily adjustments to the volume of audio sources playing through the TeachLogic amplifer/receiver: • Press once to quiet all audio/Press once to resume • Slide the button up/down to adjust the audio volume up/down
END OF THE DAY
1. Turn the microphone OFF (press/hold the power button).
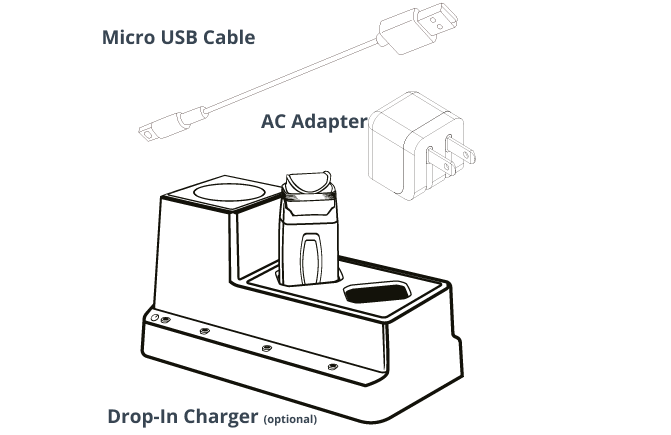
2. Charge overnight by plugging into a charging cable or drop-in charger.
We use cookies to ensure that we give you the best experience on our website. If you continue to use this site we will assume that you are happy with it.